How To: Paint Birds in Watercolour

Painting any wild animal can be a challenge. It helps to have seen the animal in nature so you can get an idea of how they move, the way they stand and hold their bodies. Do they stand tall, or are they low and crouched over? A nice trick is to search for both video and images of your bird of choice. If you choose a bird that is native to your country you will have that extra bit of joy when you view that bird in the wild on your next nature walk.
The painting above is of a Black-capped Chickadee, easily spotted in North America and was painted on hot-pressed, smooth watercolor paper.
Step One: Take your own clear photograph of the bird in your garden, or, simply find a photo of the bird online that you would like to paint. Take the time to get acquainted with the birds features and shapes.
Step Two: Start with very light sketch on your watercolor paper. You should pay particular attention to the shape of the overall body and the position of its key body parts. The spine/back shape and the position of the the eyes, the beak and the legs are key in getting right in order for the finished painting to look like your chosen bird. Have an eraser handy and don't get disheartened if the sketch doesn't look quite right. Keep at it until you get it right! Having this guide is very important when you move to the painting stage.
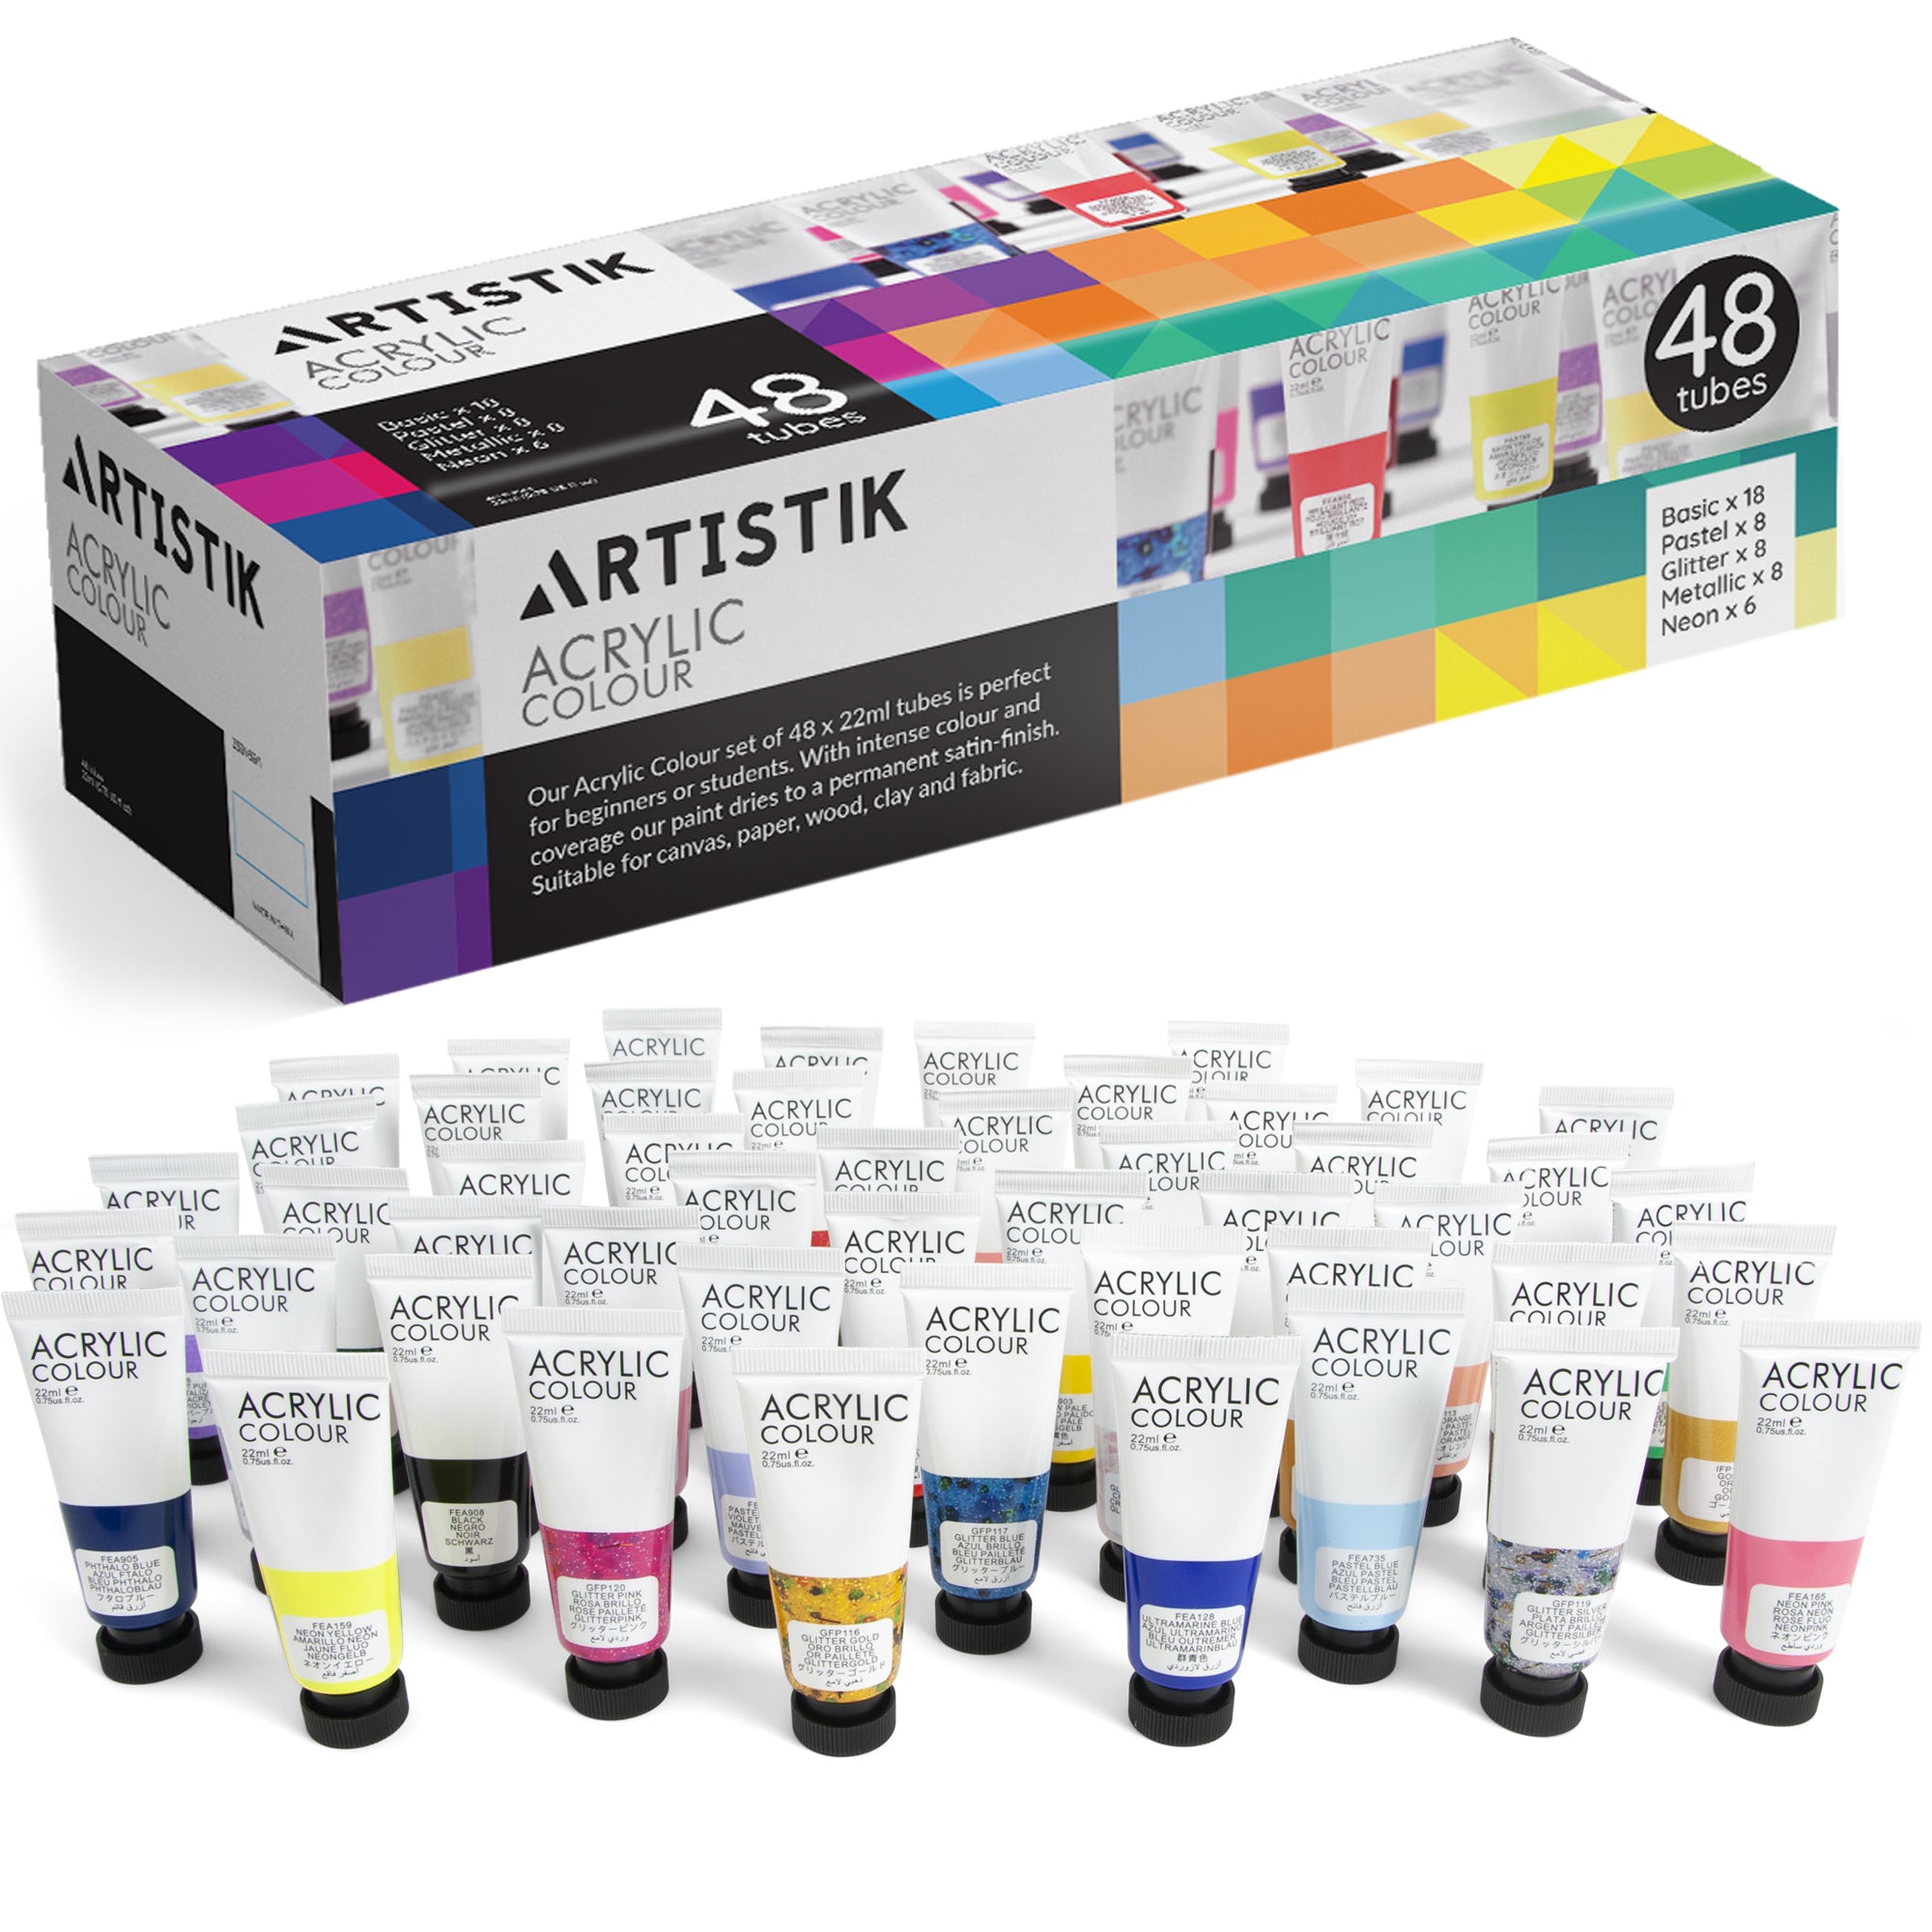
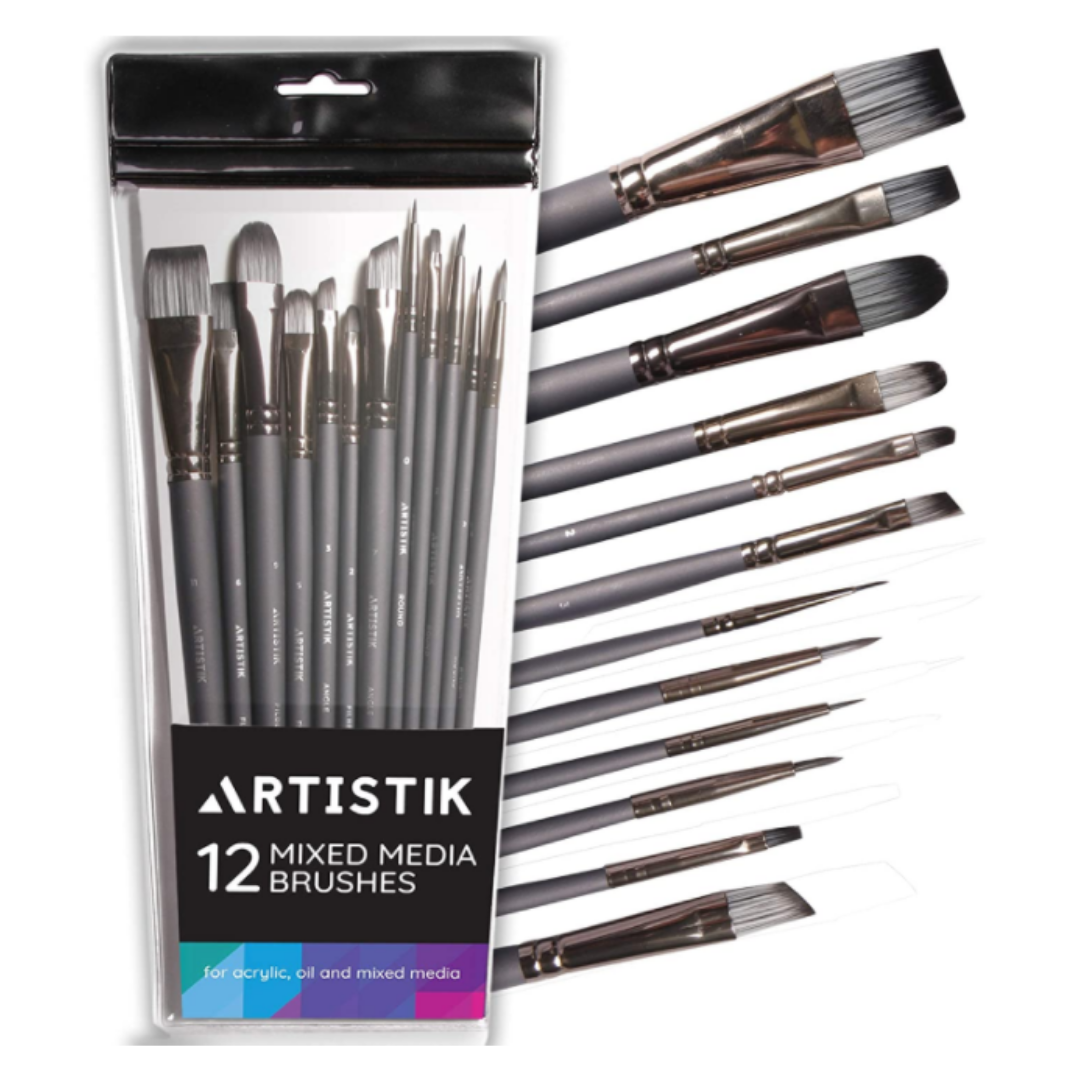
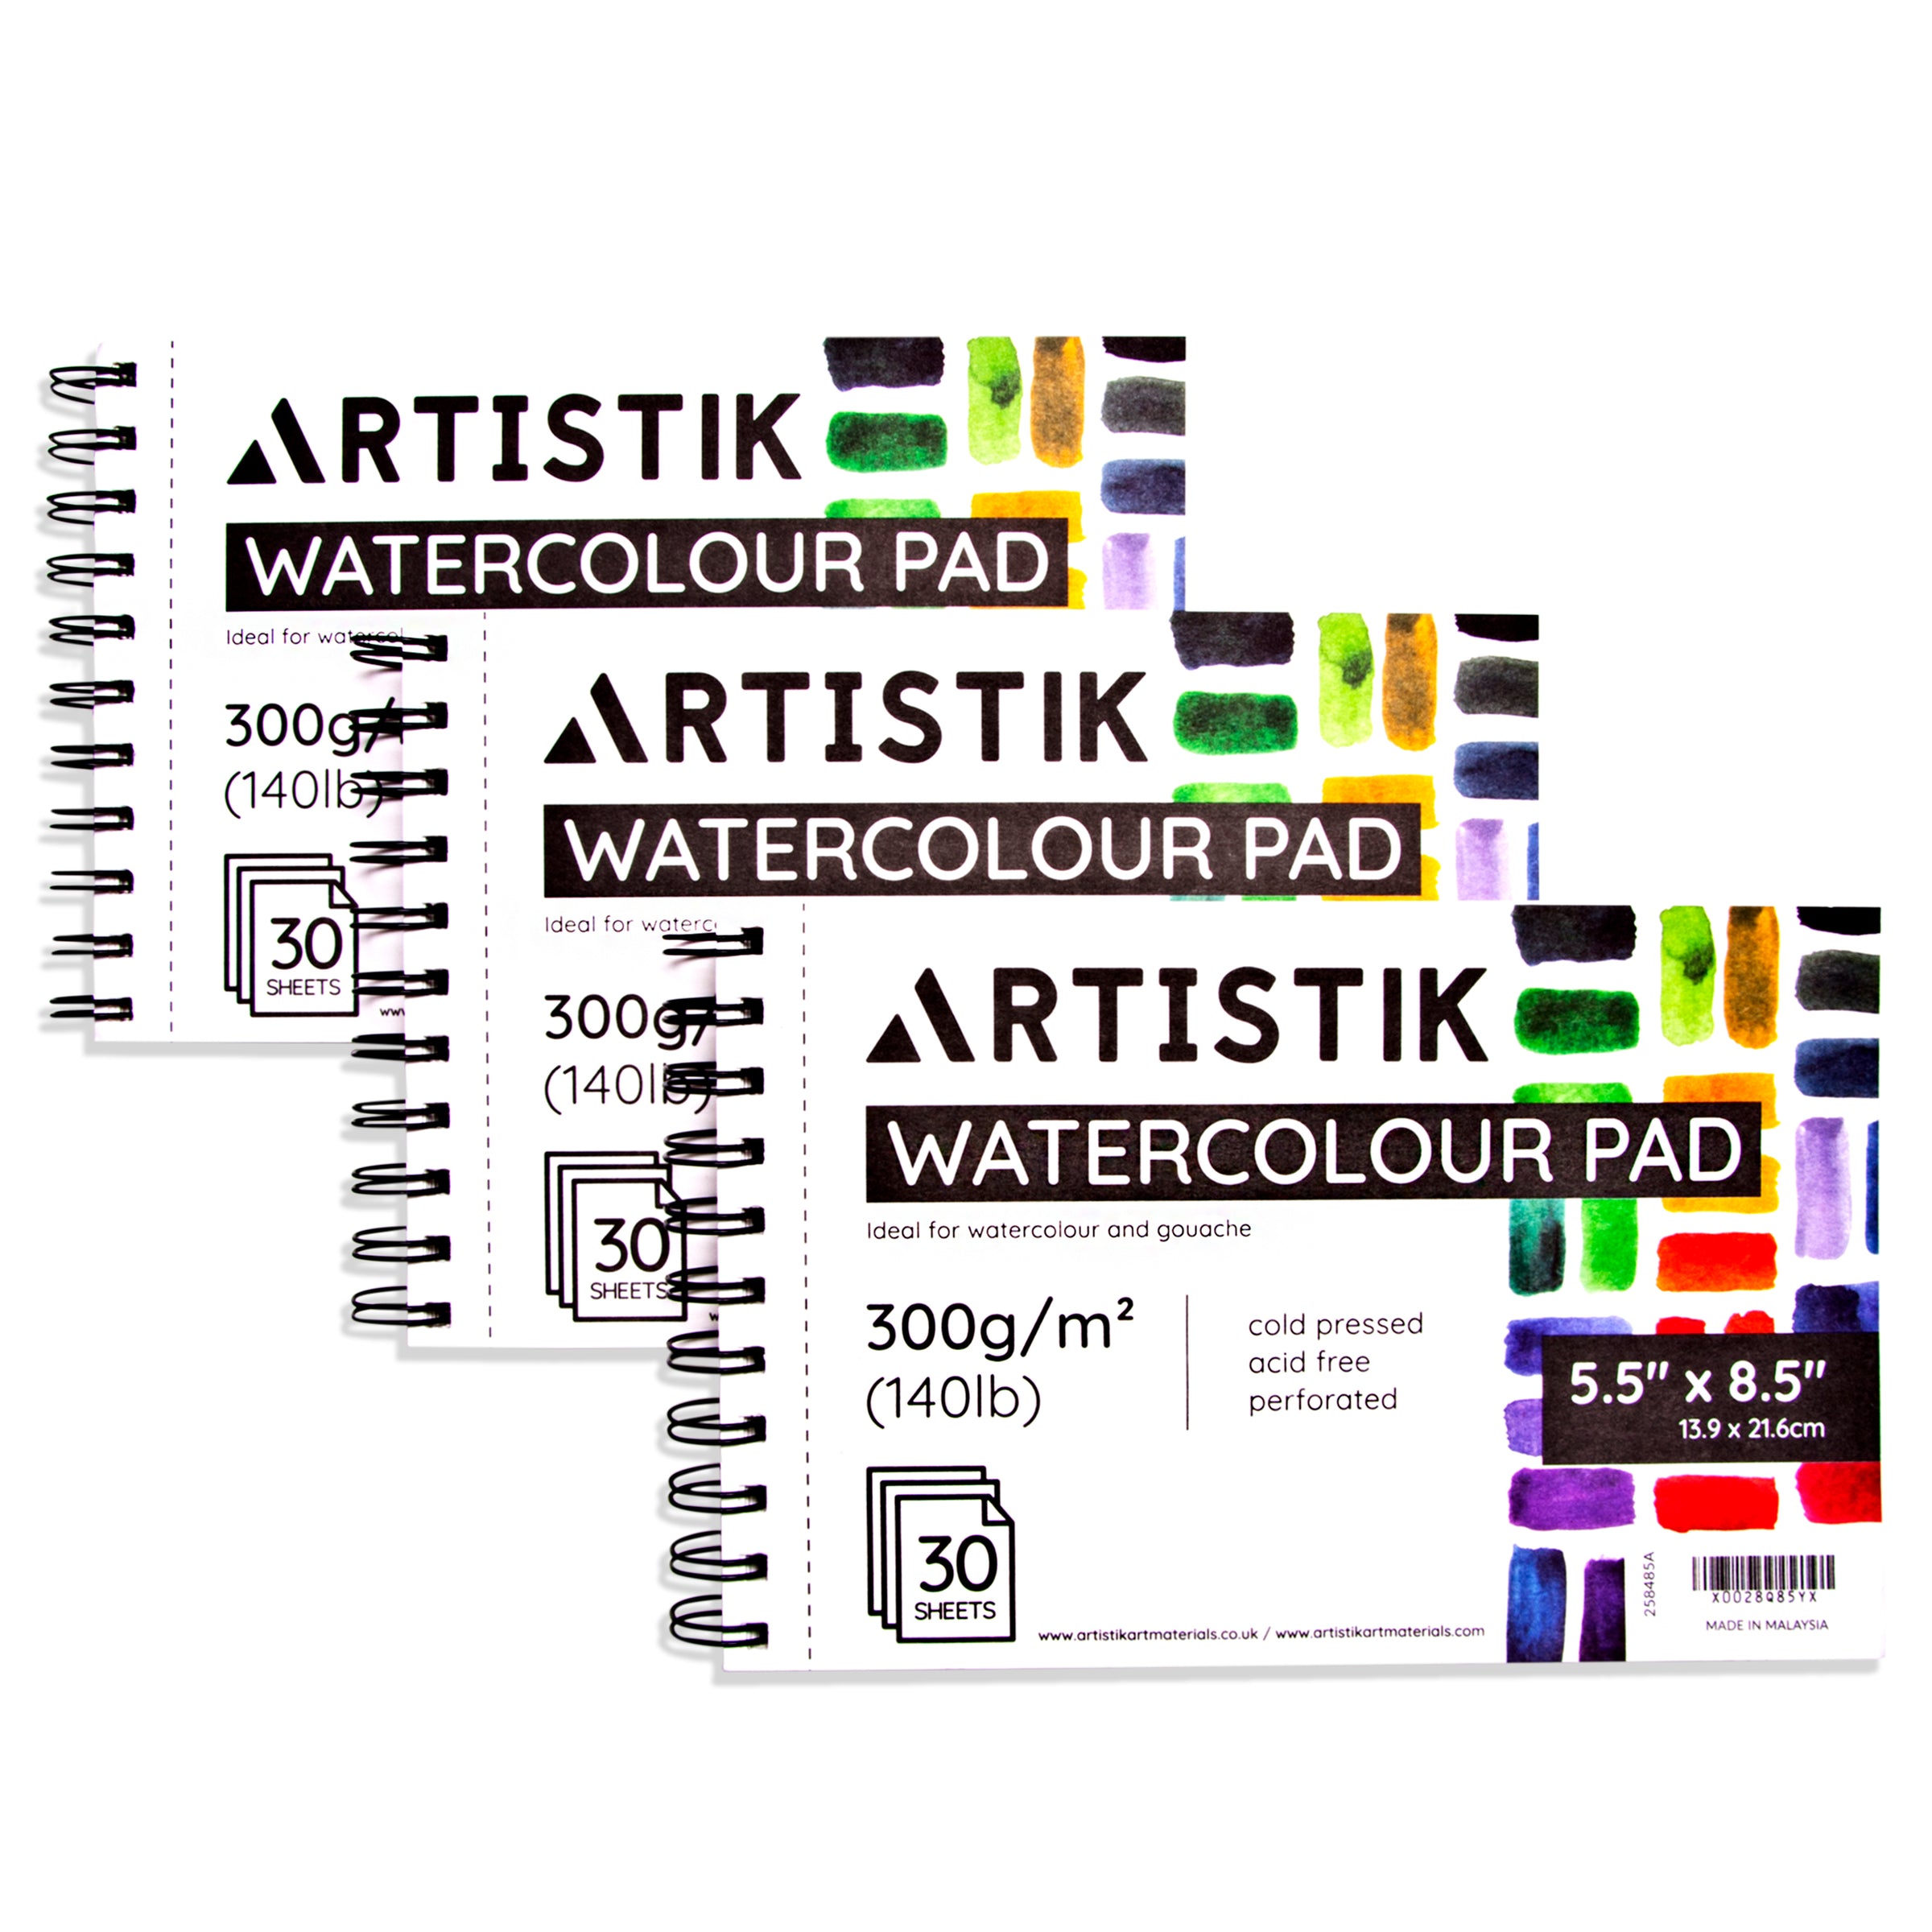
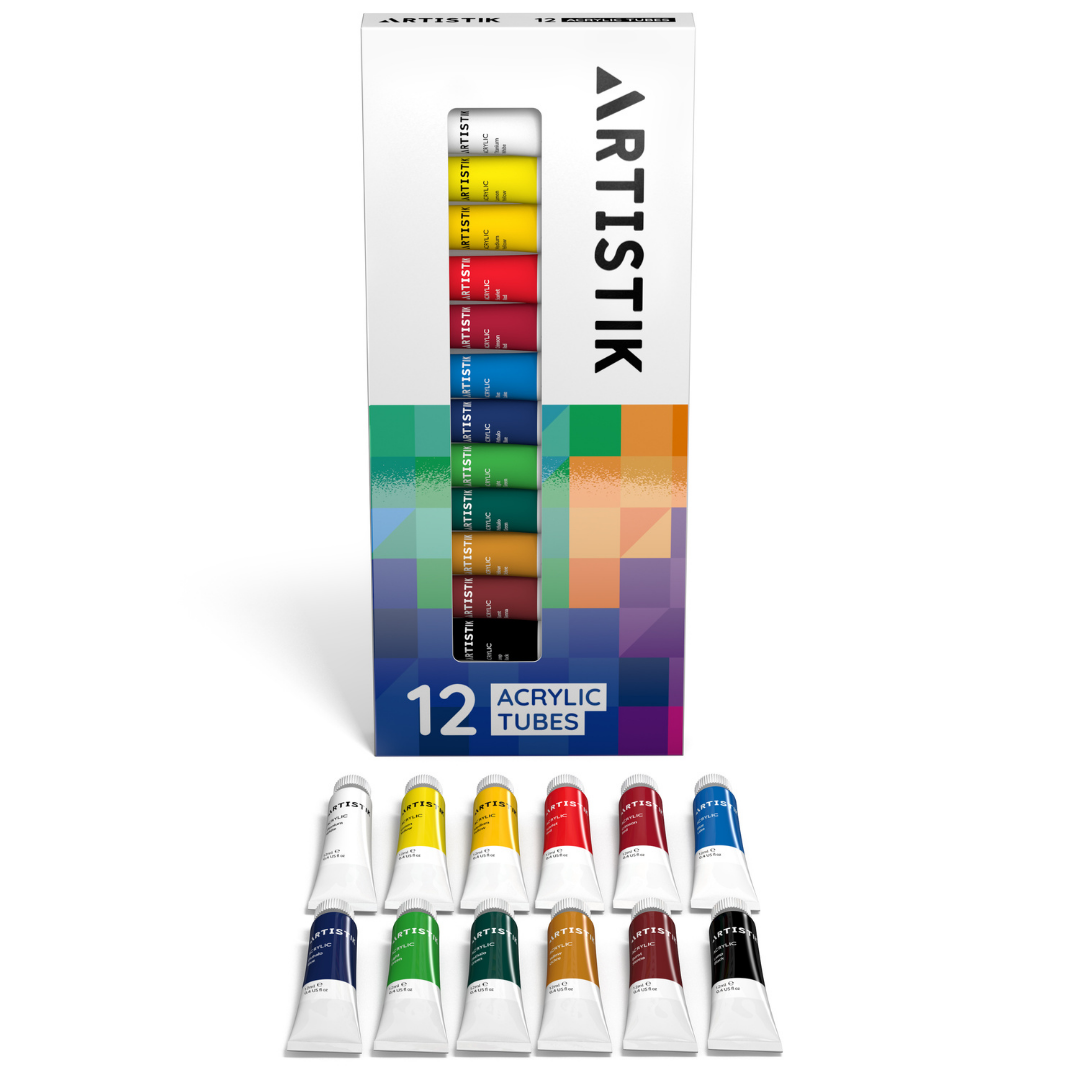
Step Three: Prepare your watercolor paper, brushes, a mixing palette, a jar of water and the tubes of color that you think you will need and have them to hand.
*TIP* Have a small piece of watercolor paper beside you that you can use to test out colors and compare to your photograph so that you can get the colors as close to reality as possible. You can do color swatch tests before you begin painting.
Step Four: With watercolor paint the best practice is always to paint the lightest colors first and move to the darkest in order. With plenty of water add your base color and continue to fill in the general panels of base colors, forgetting about the darker, finer details like the beak, eye and details on the feathers. Keep to the shape of your pencil sketch but don't worry about details now. Work quickly so that you are working wet on wet. Get lost in the relaxing, fluid nature of watercolor painting.
Step Five: Allow your base colors a moment to dry and then, with a smaller brush, start to paint in the darker details on the wings, legs and eye the Get lost in the relaxing nature of watercolor painting. Add in any details around the bird such as twigs, flowers or plants.
Other ideas to consider once finished your beautiful watercolor bird painting.
Try to paint the same bird using colors that are unlike reality. You could try painting using metallic or neon colors! Play with reality! Push your creative skills! Paint or draw another type of bird in a different medium on a different surface.
Try acrylic paint, colored pencils or brushpens! You can even try using pieces of newspaper or pieces from magazines in similar colors to create a collage! Let our feathered friends take you on a flight of creativity!


Leave a comment