Mastering Your First Pour: A Professional Guide to Acrylic Pouring for Beginners

Embarking on the mesmerizing journey of acrylic pouring requires not only an artistic spirit but also a foundational understanding of techniques and materials. In this guide, we'll walk you through the essential steps for creating your first acrylic pouring project.
Step 1: Premium Materials
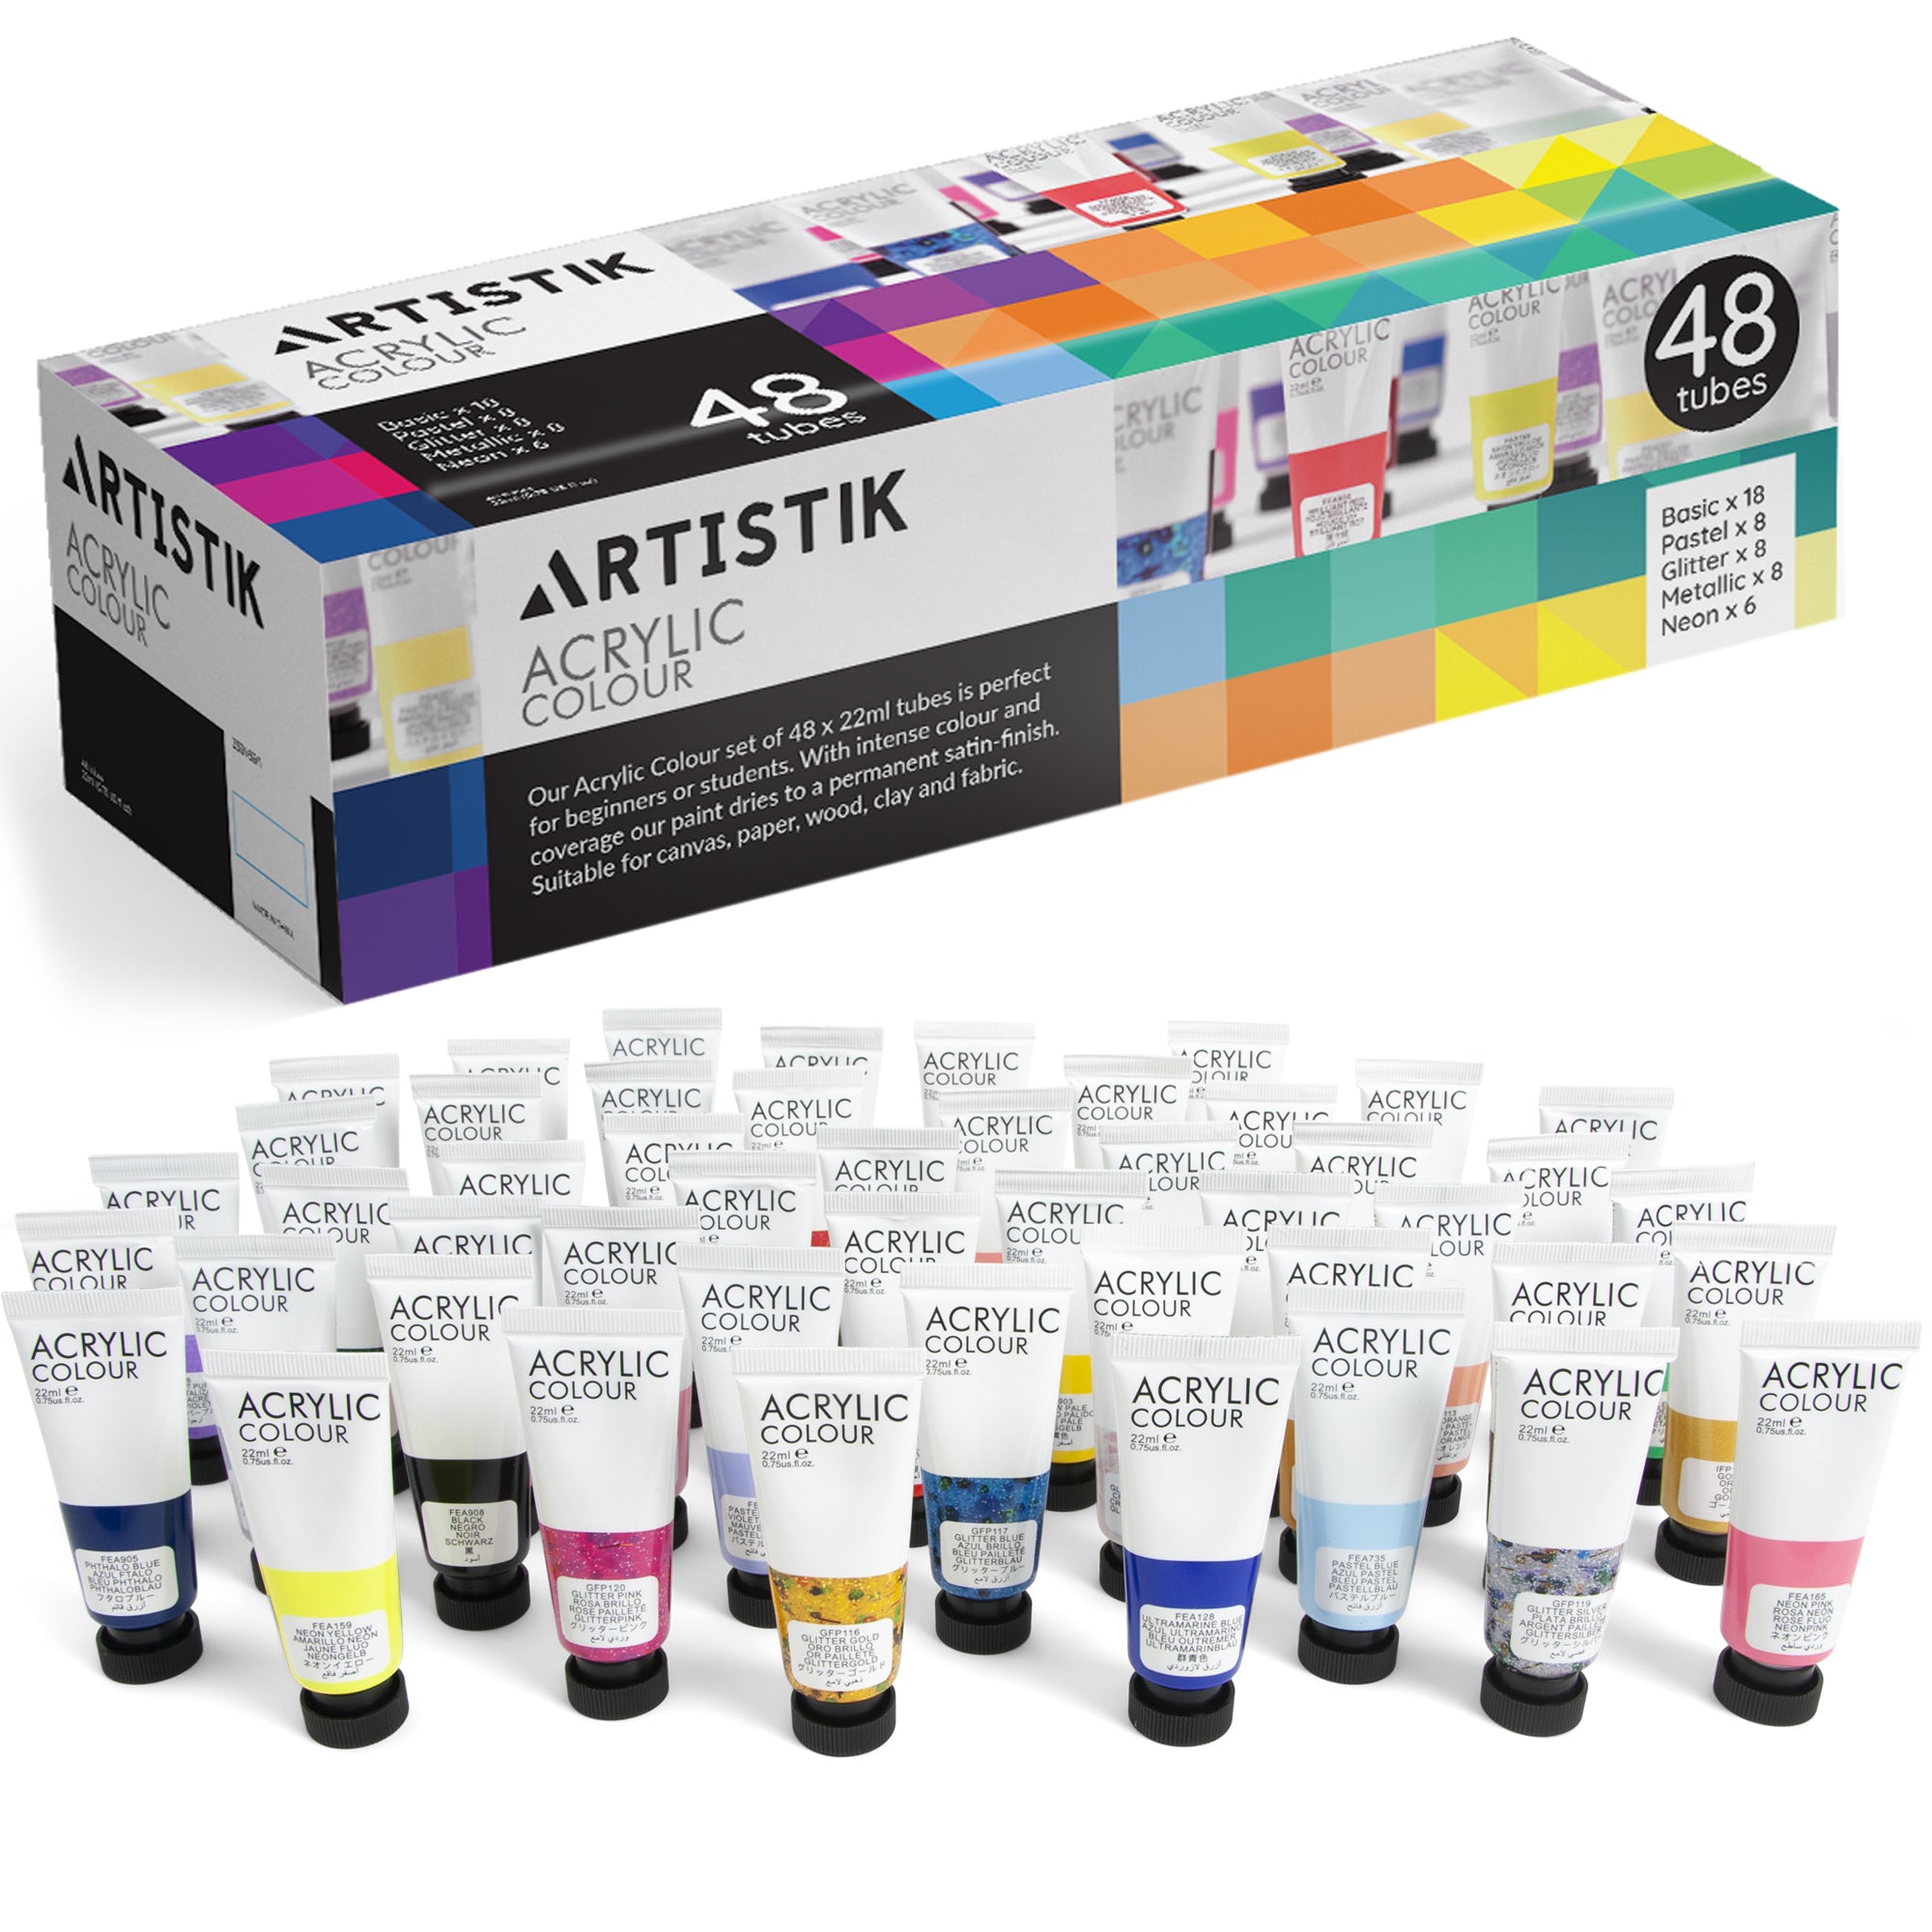
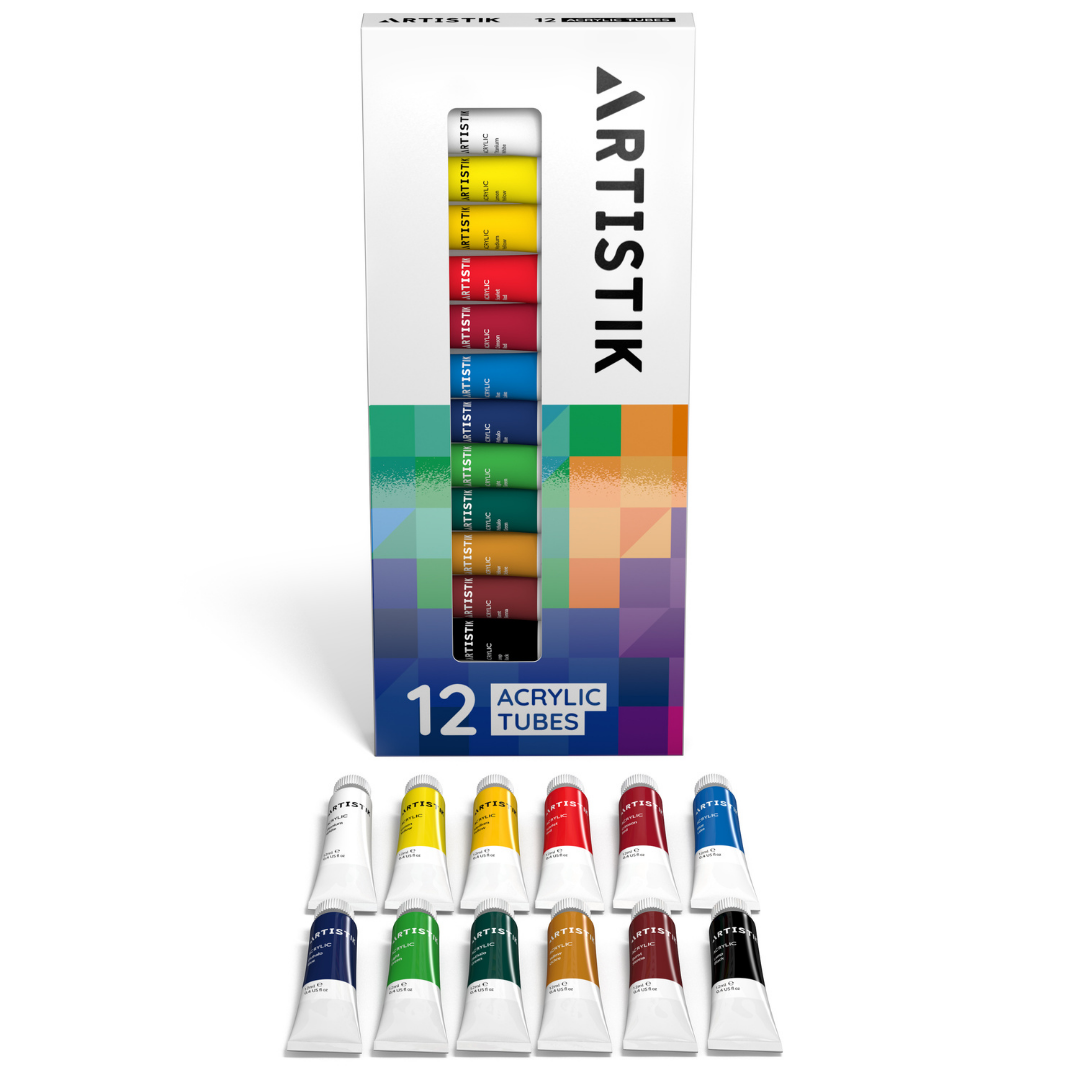
Begin your acrylic pouring project with quality materials. Opt for professional-grade acrylic paints and mediums to enhance color vibrancy and ensure the longevity of your artwork. Artistik Pouring Acrylic Set 8 x 100ml would be a good starting point.
Step 2: Pristine Workspace
Maintain a clean and organized workspace by covering it with a non-stick surface, such as plastic or a silicone mat. This advice not only safeguards your environment but also allows for easy cleanup and reuse of dried paint.
Step 3: Consistency is Key
Perfect the consistency of your paint by experimenting with pouring mediums. Strive for a smooth, liquid texture that allows the paint to flow effortlessly across the canvas while retaining its vivid hues.
Step 4: Dutch Pour Technique
Explore the Dutch pour technique. This method involves pouring different colors onto the canvas and manipulating the paint by tilting the surface, resulting in captivating and visually dynamic compositions.
Step 5: Controlled Tilt
Exercise control during the tilting process to guide the paint flow. We emphasize the importance of slow and deliberate tilting to create captivating patterns without compromising the overall composition.
Step 6: Master the Swipe Technique
After applying paint to the canvas, use a palette knife or a similar tool to swipe across, introducing dynamic textures to your pouring acrylic masterpiece.
Step 7: Colorful Exploration
Experiment with bold colors. Pouring acrylics provide an opportunity to play with color combinations, resulting in dynamic and aesthetically pleasing artworks.
Step 8: Drying Patience
Exercise patience during the drying process. Allow your artwork to dry completely before making any adjustments or adding additional layers, ensuring the preservation of colors and patterns.
Step 9: Reflect and Learn
Take time to reflect on your creation, evaluating colors, patterns, and overall composition. This reflective process helps you understand your artistic preferences and informs future pouring endeavors.
Finally, infuse joy into your creative process. Acknowledge the spontaneity and expressive freedom of pouring acrylics, and revel in the uniqueness of each masterpiece. Happy pouring!


Leave a comment